Finishing a basement goes smoother and performs better when you start with
basement insulation services in Madison, reducing drafts, moisture issues, and costly fixes after the space is complete.
You can already imagine the finished space taking shape. Movie nights, a home gym, a kids’ playroom, or a quiet office. Then reality sets in. Cold floors that never warm up, lingering damp smells, and a basement that still feels uncomfortable even after the work is done.
That is why insulation should come first, not last. With
home insulation services in Madison, homeowners can secure comfort early and follow a practical checklist before drywall, flooring, and finishes are installed.
What to Fix Before Framing a Finished Basement
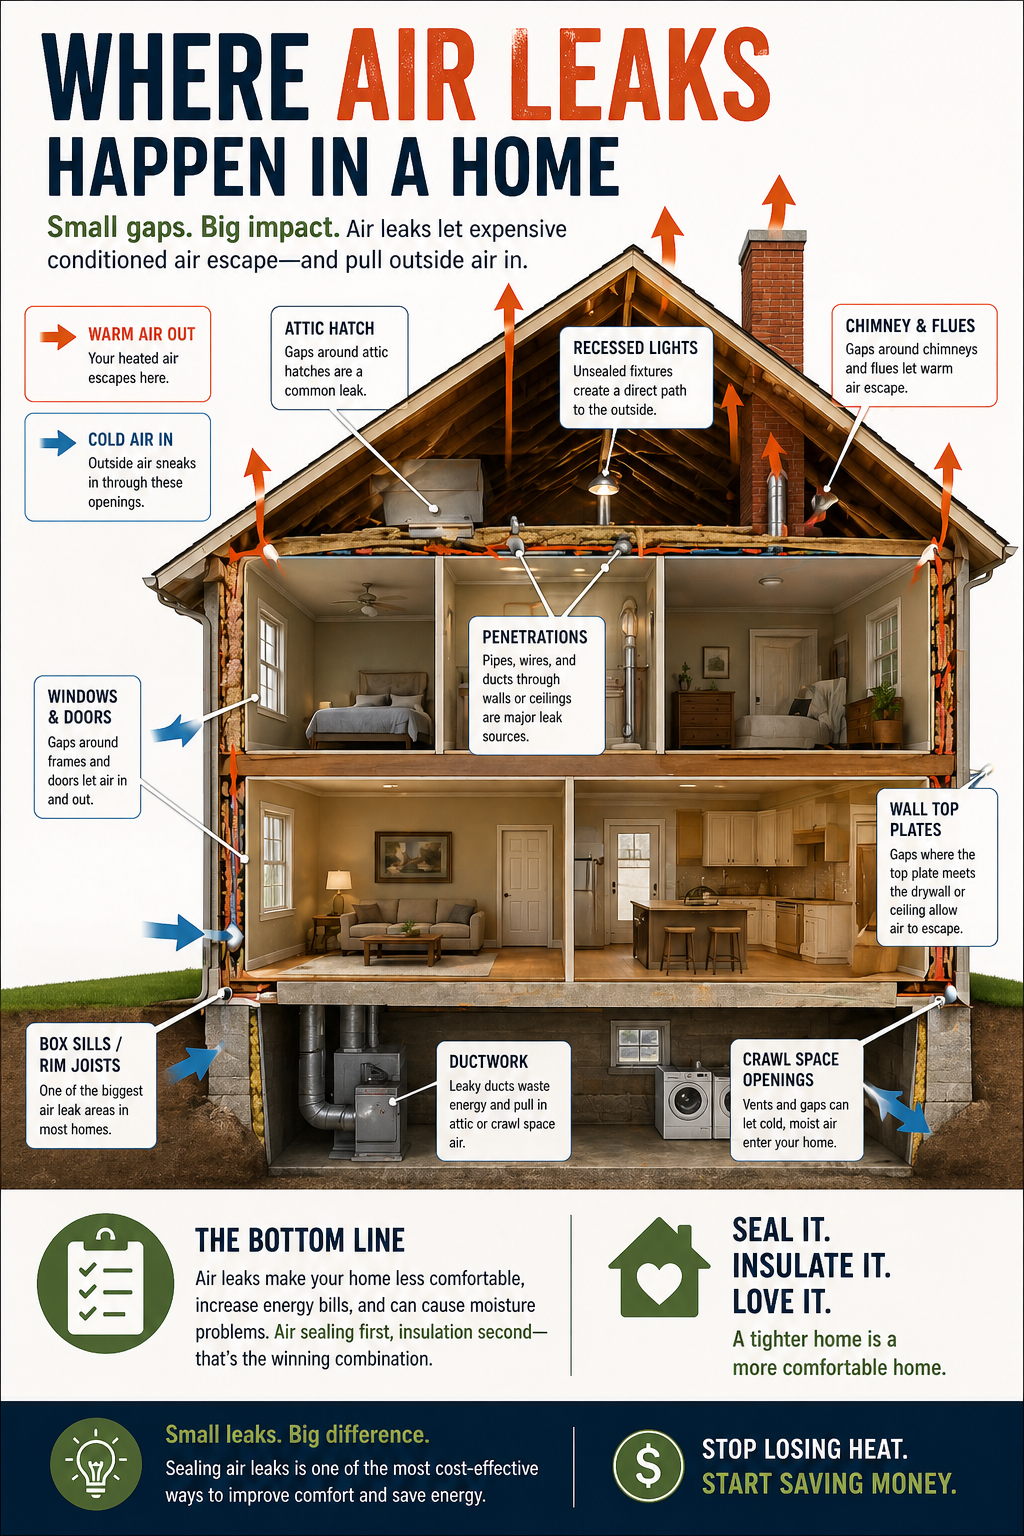
Before framing goes up, focus on the areas that quietly drain comfort. Rim joists and band boards are common leak points, and unfinished basement walls can keep feeding cold air into the rest of the home.
If the ceiling is insulated but the walls are ignored, the space often stays chilly and harder to heat. The bigger risk is finishing first and sealing problems behind drywall, where drafts, condensation, and damp smells become harder and more expensive to correct.
Starting with smart air sealing and
basement insulation services gives crews clear access, a cleaner install, and a basement that feels truly finished long after the project is done.
Moisture and Mold Risk Go Up After You Close the Walls
Basements are naturally prone to damp air, and when warm indoor air sneaks through gaps and hits cooler surfaces, condensation builds fast. That is when musty odors show up, materials start to warp, and mold risk climbs, especially once everything is covered up.
The smart move is to control the environment before carpet and drywall go in. Targeted air sealing and insulation help reduce drafts and limit the moisture pathways that cause hidden problems.
With
basement insulation services, you can finish the space with more confidence and avoid surprises that are expensive to undo later.
Choosing the Right Insulation for Comfort, Sound, and Savings
The right insulation depends on what your finished basement needs most.
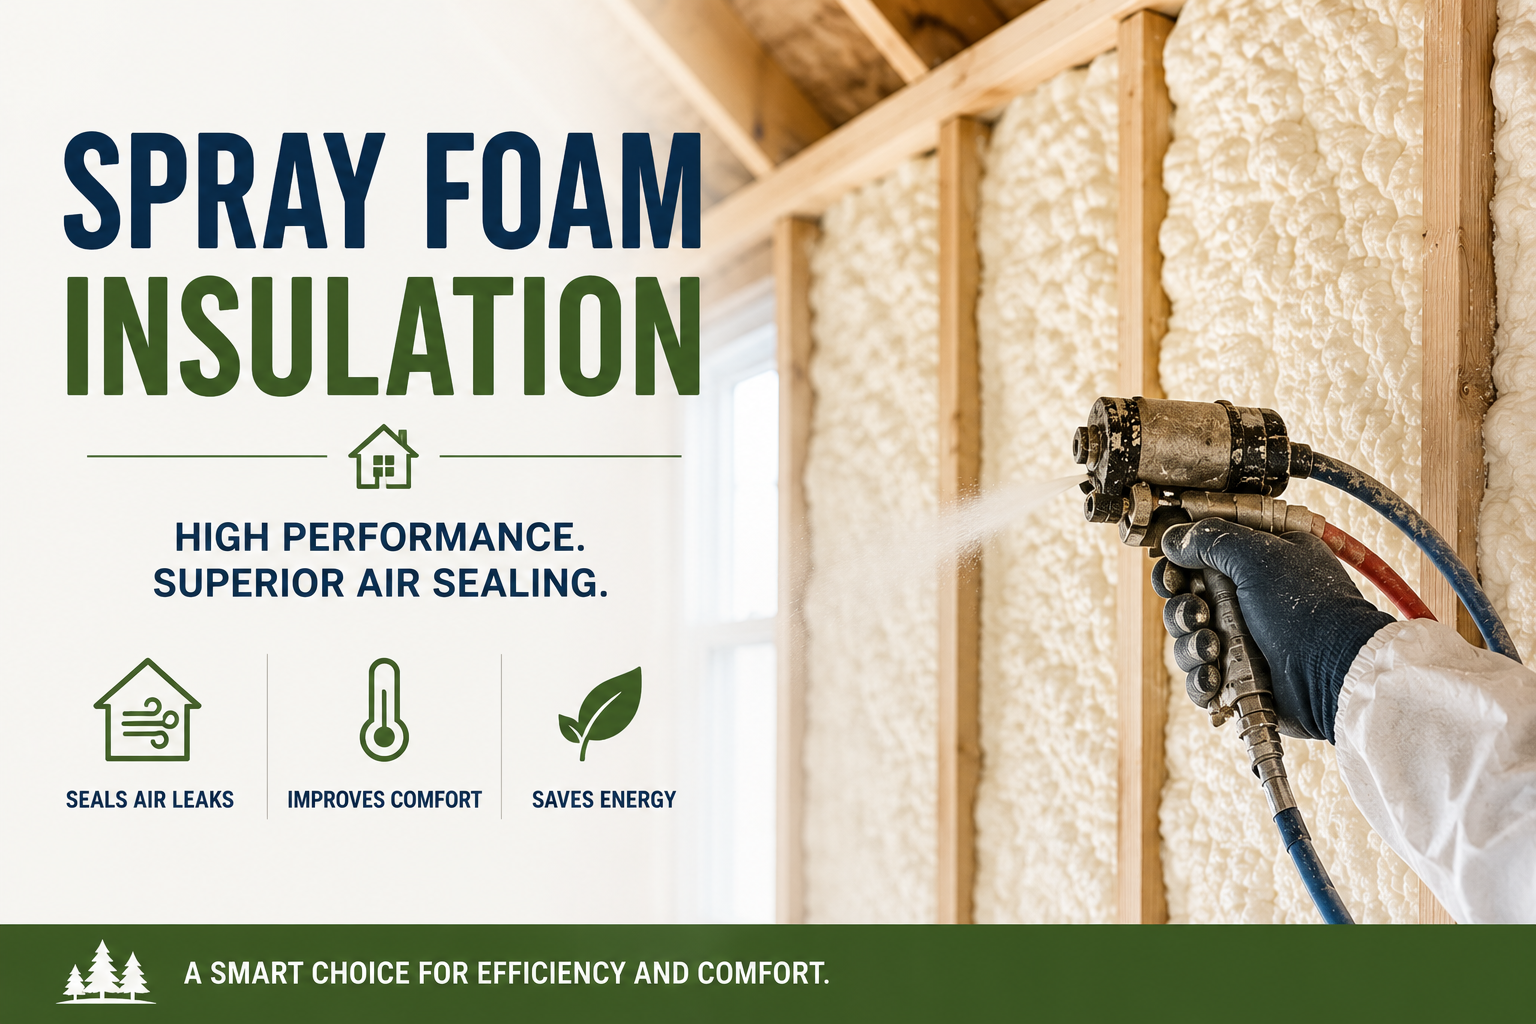
- Spray foam helps seal gaps and supports moisture control in leak-prone areas.
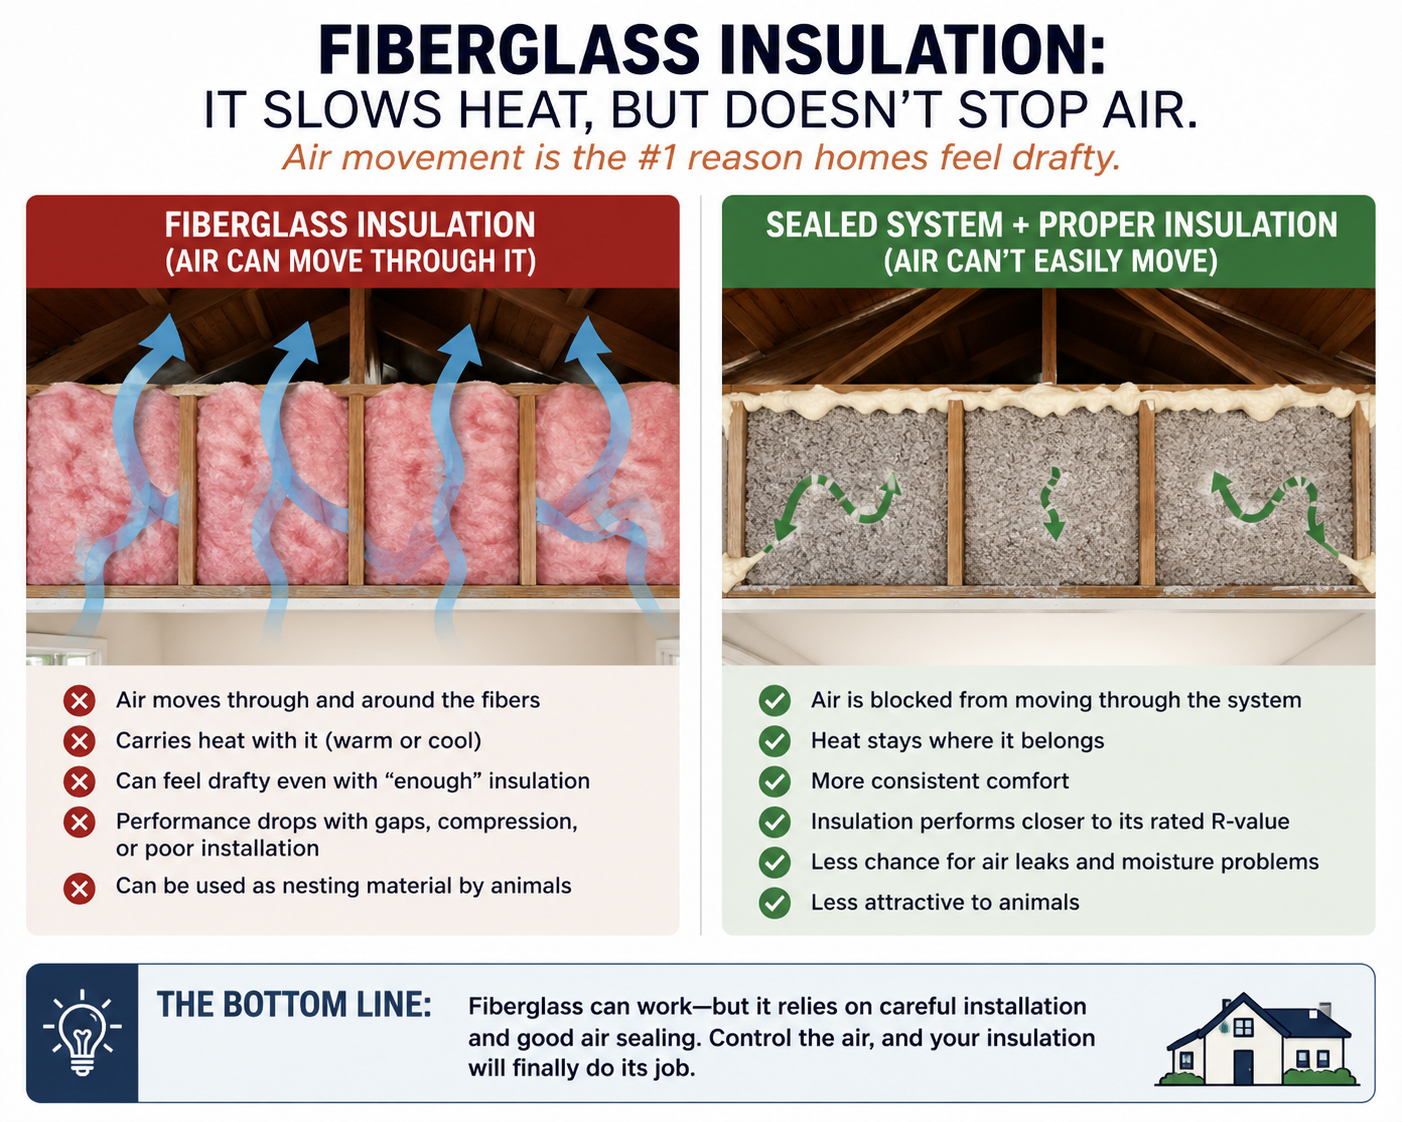
- Fiberglass works well in wall cavities when paired with proper air sealing.
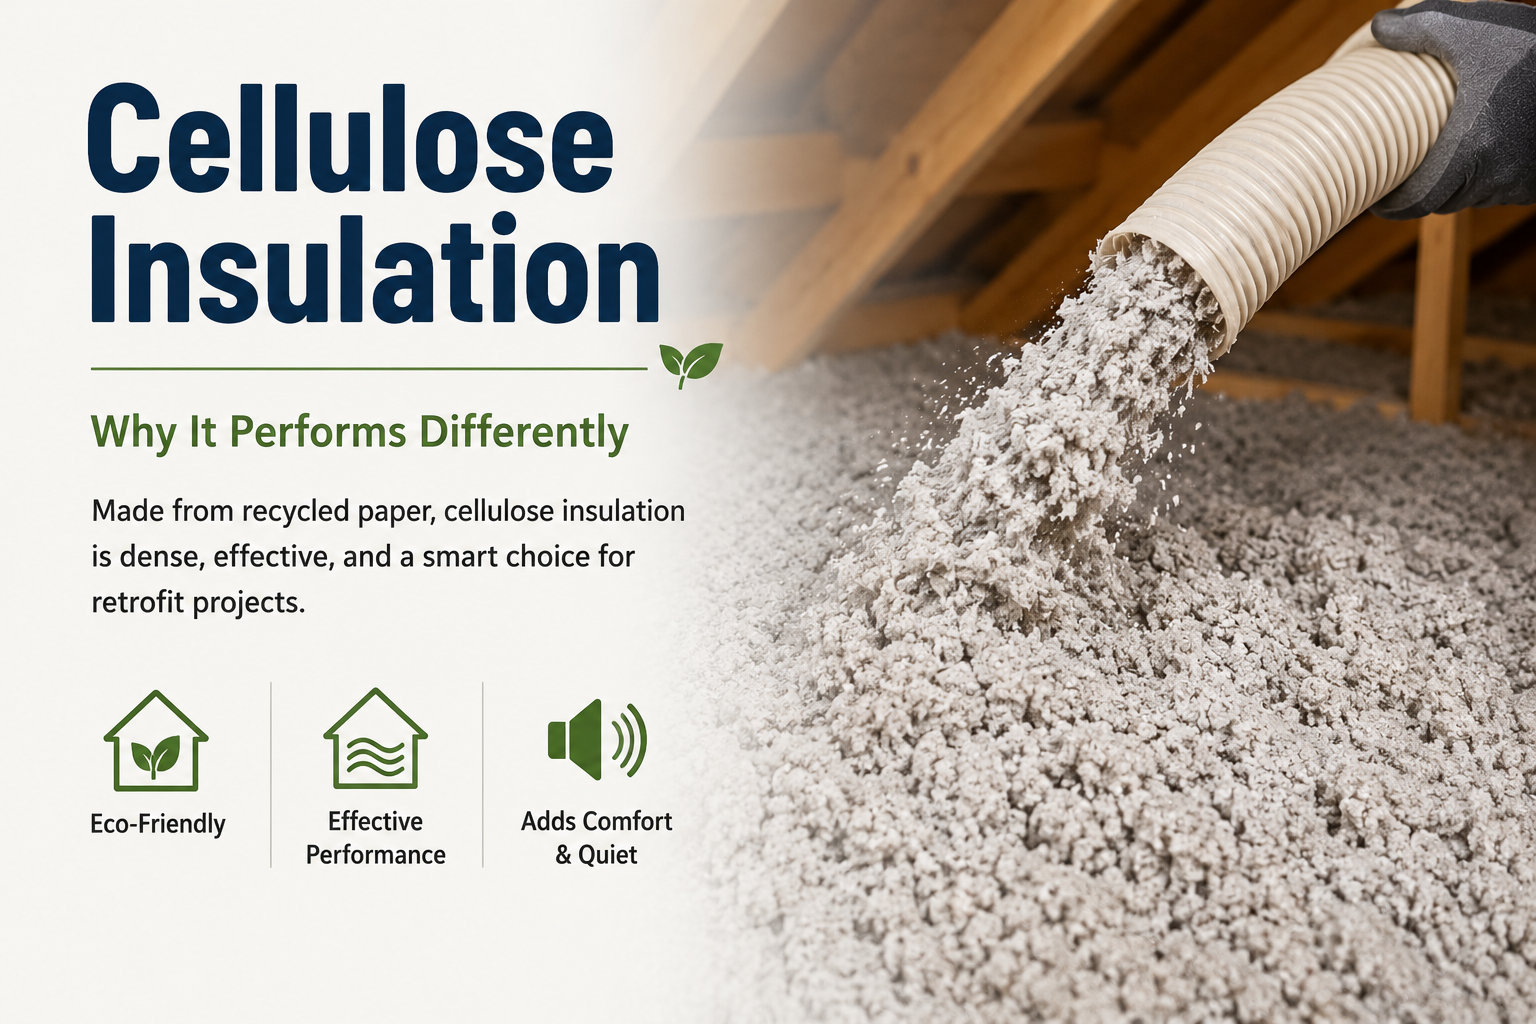
- Cellulose offers dense coverage in the right applications.
Match the material to your goal, whether that is warmer floors, quieter rooms, or fewer drafts. Since basement conditions can affect first-floor comfort too,
home insulation services
can help you choose the most practical option before finishes go in.
Rebates and Energy Programs Can Make Insulating Cheaper
Cost is often the biggest hesitation before finishing a basement, but energy efficiency programs can ease that concern. Wisconsin
Focus on Energy and the
IRA HOMES program may offer rebates for qualifying insulation upgrades, with potential savings that can reach up to $10,000 - depending on the project.
Our technicians help homeowners understand which improvements may qualify and how to apply savings directly to the work. That guidance can reduce out-of-pocket costs upfront and remove the guesswork, making it easier to insulate first and build with confidence.
Quick Insulate First Checklist Before You Finish
Before drywall and flooring go in, use this quick checklist to confirm your plan is ready. It is also a simple way to talk through basement insulation services with a contractor.
- Rim joists and band boards are sealed and insulated
- Basement walls are addressed, not only the ceiling
- Moisture risk is assessed, including any damp spots or odors
- Insulation is planned around wiring and plumbing for clean coverage
- Rebates, timeline, and next steps are confirmed before you start building
Make Your Basement Comfortable Before the Drywall Goes Up
Duerst Insulation Technicians helps homeowners insulate first with the confidence that comes from a locally owned team, decades of experience, and guidance aligned with Wisconsin Focus on Energy programs.
If you want your finished basement to feel truly comfortable from day one, get a clear plan before the walls go up. Call us at
608-850-3773 for a
free estimate on insulation services.